How to Paint Paneling
/The first time we dealt with fake wood paneling I dreaded it. I thought if a house had paneling that you pretty much had to rip it down and install drywall (which is a lot of work!) I didn’t think paneling could or would ever look good, and painting it wasn’t even on my radar.
It wasn’t until we worked on a property that had paneling everywhere and I realized the paneling wasn’t actually that bad. Sure it wasn’t my first choice, but there was nothing wrong with it. It didn’t make sense to rip it down when it was well secured, not rippling, or damaged. So instead we saved it and made it work. Quite frankly, it turned out better than I would have hoped and saved us thousands of dollars.
If you ever have paneling in a home and you’re debating what to do with it, painting is a great option. Before you get started there are a couple things you’ll want to do first:
Make sure the paneling is well secured, not bubbling or rippling from the wall, and not damaged. Fixing paneling is a little tougher than drywall but it can be done. If you do have a hole in the paneling, you’ll want to get a patch kit.
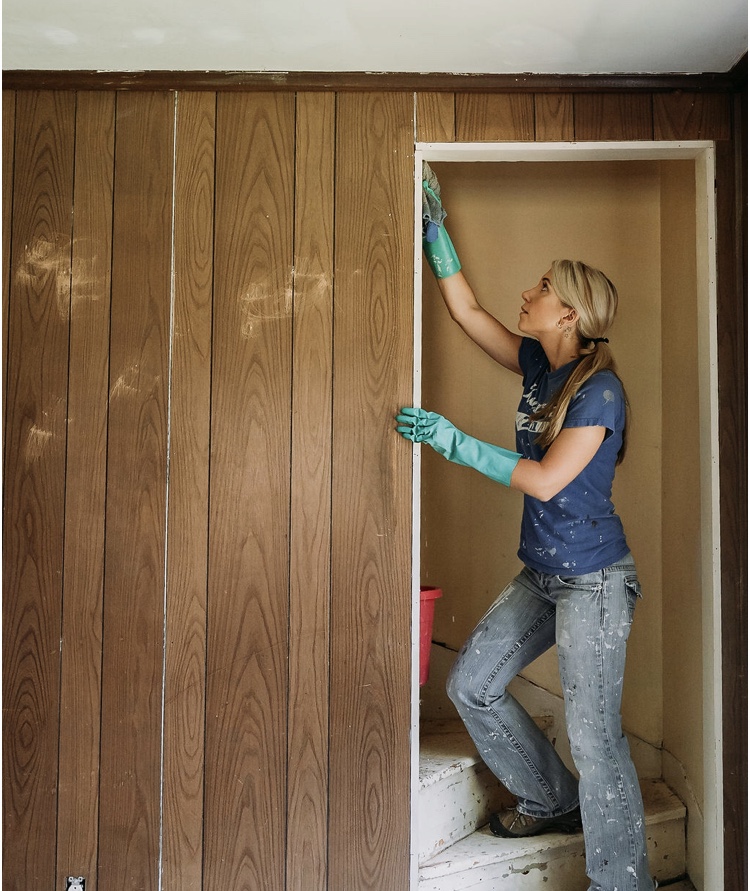
Clean all the paneling with soap and water. Its important to have a clean surface to apply the paint to.
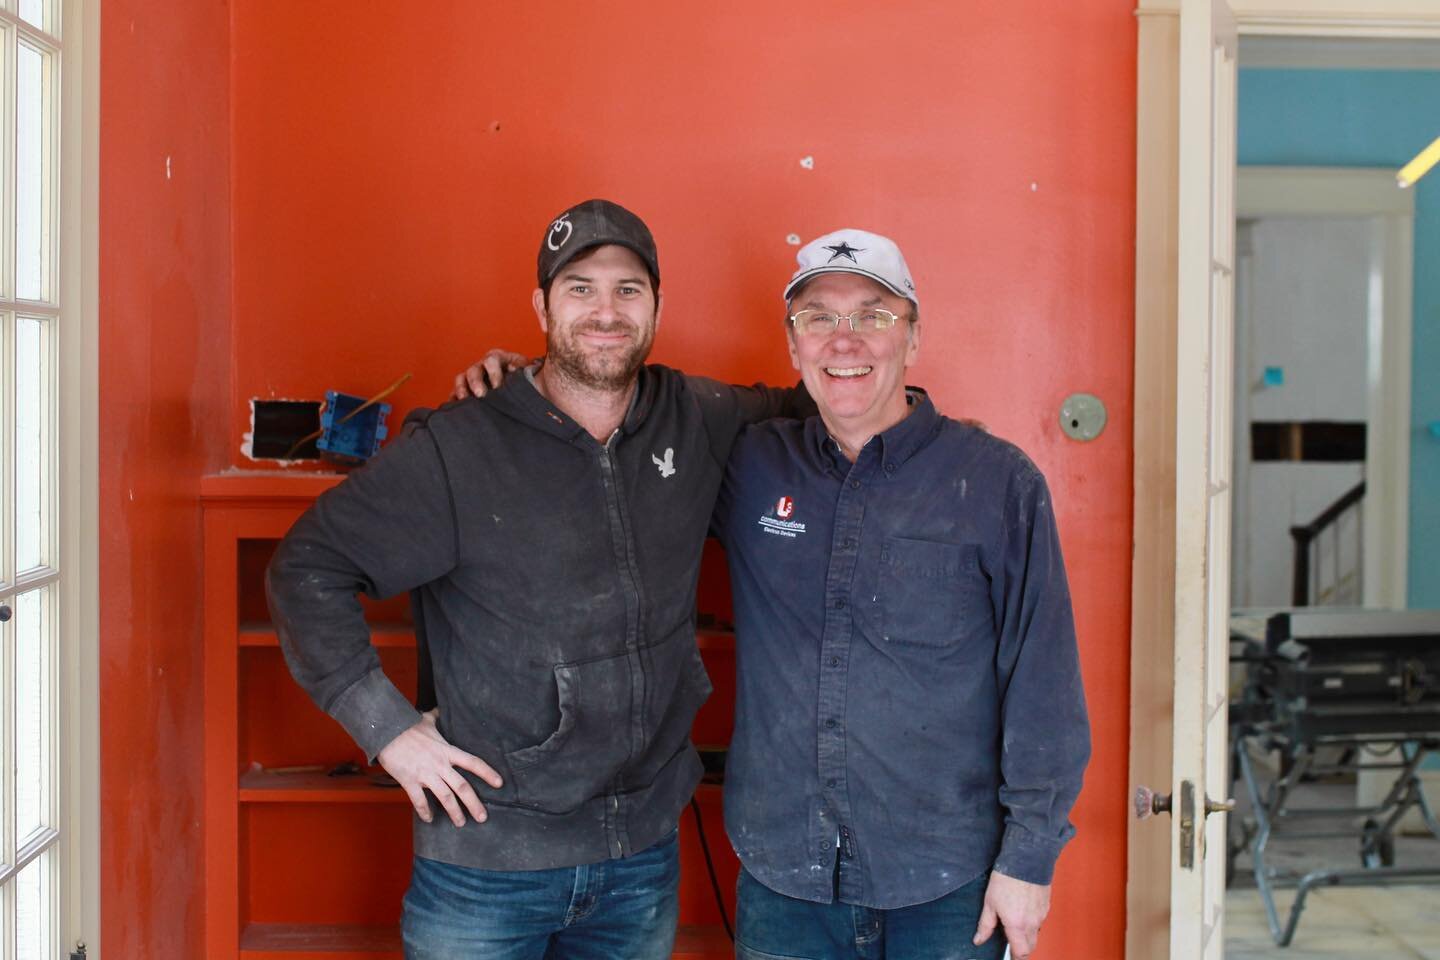
You’ll need a good bonding primer. I have also read where you should sand paneling first to rough it up before applying paint, but we have always used the bonding primer and have had great results. The bonding primer needs to go on first before you paint. Look for something that says “applicable for glossy surfaces”. We’ve tried a couple bonding primers over the years and the one I really like right now is the Valspar bonding primer.It is reasonably priced and has great coverage and adhesion. If my dad gives it the stamp of approval ya know it is good. We have tried other bonding primers like STIX or KILLZ, both of which were good. STIX is roughly $50 a gallon so it’s a bit pricey, and we weren’t impressed with KILLZ’s adhesion.
Use the primer on everything. Often times we end up using the brush to paint the cracks of the paneling. It can be tough to get this with the roller, so we spend the extra time and do it when we have the brushes out. Having the primer on makes the paint go on so much smoother and easier. The bonding primer can tend to be thick so its not always the easiest to apply. But once its done its all downhill from there.
Lastly apply your paint and voila! Your room will look completely different and fresh. You’ll wonder why you were ever questioning the paneling in the first place.
It really is amazing what paint can do. It will literally transform a space. So I hope if you give this a whirl someday you are as happy with the results as we were. It’s a great way to update or change a room without undergoing a complete tear down. Best of luck!